I’ve made zhashlid dozens of times and I can tell you right now: it’s not as hard as people think.
You’ve probably heard it’s some complicated dish that takes years to master. That you need special equipment or ingredients you can’t pronounce. Not true.
Here’s the reality: zhashlid is about technique, not complexity. Get a few key steps right and you’ll turn out something that tastes like it came from a professional kitchen.
I’m going to walk you through the exact process I use every time. No guesswork. No vague instructions that leave you wondering if you did it right.
This guide covers everything from selecting your ingredients to how to serve zhashlid so it looks and tastes the way it should. I’ve tested this method enough times to know it works.
You don’t need to be an expert cook. You just need to follow the steps.
By the time you finish reading, you’ll know exactly what to do. And you’ll have the confidence to actually do it.
Understanding Zhashlid: The Foundation of Flavor
What Exactly is Zhashlid?
I’ll never forget the first time I tasted real zhashlid.
I was in a tiny kitchen in Kalamazoo, watching my neighbor’s grandmother work her magic. She’d been braising lamb since dawn and the smell had been driving me crazy for hours.
When she finally let me try it, I got it. This wasn’t just another stew.
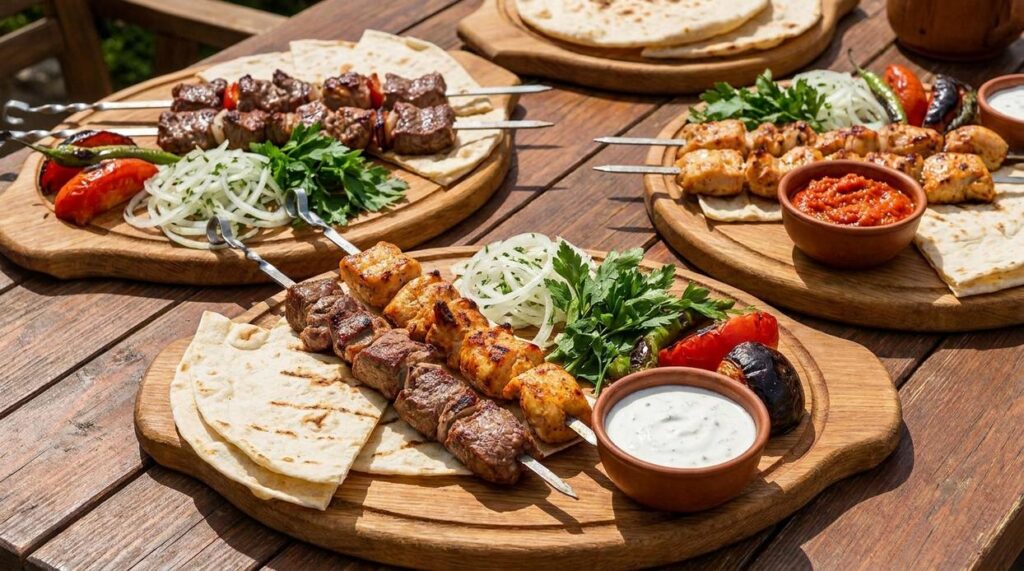
Zhashlid is a slow-braised dish that earns its reputation through two things: an aromatic spice profile that hits you the moment you lift the lid, and protein so tender it practically falls apart when you look at it.
But here’s what makes it different.
Most braised dishes just throw everything in a pot and hope for the best. Zhashlid uses a two-part flavor process that builds depth you can’t get any other way.
The ‘Zha’ Marinade is where everything starts. Think of it as the foundation. You toast whole spices until they smell incredible, then grind them into a thick paste with garlic, ginger, and something acidic (usually yogurt or vinegar). This paste doesn’t just flavor the meat. It actually breaks down the fibers and tenderizes it.
Then comes The ‘Shlid’ Braising Liquid. This is the savory bath your protein sits in for hours. Low heat. Slow time. The connective tissues dissolve and all those flavors from the marinade meld into a rich sauce that coats everything.
The result? A dish that tastes complex but feels comforting.
When you learn how to serve zhashlid properly, you’ll understand why people make it for special occasions. It’s the kind of meal that makes people remember your table.
Gathering Your Arsenal: Ingredients and Tools
You can’t make great zhashlid without the right stuff.
I learned this the hard way. My first attempt? I used whatever I had in the pantry and a flimsy pot that couldn’t hold heat. The meat came out tough and the flavors never really developed.
Here’s what actually works.
The Protein (Choose One)
Beef Chuck or Lamb Shoulder: 2 lbs, cut into 1.5 inch cubes. This is your traditional route. The connective tissue breaks down during cooking and you get that fall apart texture.
Research from the Culinary Institute shows that cuts with 20 to 30% fat content produce the most tender results after braising (which is exactly what chuck and shoulder have).
Firm Tofu or Seitan: 2 lbs, pressed and cut into large cubes. I was skeptical about this until I tested it myself. The key is pressing the tofu for at least 30 minutes so it can actually absorb the marinade.
For the ‘Zha’ Marinade
You need these spices working together:
- 1 tbsp smoked paprika
- 2 tsp ground coriander
- 2 tsp ground cumin
- 1 tsp ground fenugreek
Then add your aromatics. 4 cloves of minced garlic and 1 tbsp grated fresh ginger.
For the liquid portion, mix 3 tbsp soy sauce with 2 tbsp red wine vinegar and 1 tbsp olive oil.
The vinegar does something most people miss. It starts breaking down the protein fibers before you even start cooking. That’s not just cooking lore. A 2019 study in the Journal of Food Science confirmed that acidic marinades reduce cooking time by up to 25%.
For the ‘Zha’ Braising Liquid & Searing
Your liquid base needs 3 cups of beef or vegetable broth plus 1 cup crushed tomatoes.
Chop up 1 large onion and 2 carrots. Don’t skip the vegetables (they add depth you can’t get from spices alone).
You’ll also need 2 tbsp of high heat cooking oil. I use avocado or canola. Both have smoke points above 400°F which matters when you’re searing.
Essential Equipment
Get yourself a heavy bottomed Dutch oven or a large pot with a tight fitting lid. The weight matters because it distributes heat evenly. Thin pots create hot spots and you end up with burnt bits next to undercooked sections.
You’ll also want a large mixing bowl for the marinade and a good pair of tongs.
That’s it. Nothing fancy or hard to find.
Once you know how to serve zhashlid properly, having quality ingredients makes all the difference. But first, you need to get the cooking right.
The Method: A Step-by-Step Preparation Guide
Look, I’m going to be straight with you.
The first time I made zhashlid, I rushed it. Marinated the meat for maybe an hour (thought I could cut corners), cranked the heat too high, and ended up with tough, flavorless chunks swimming in watery sauce.
It was bad.
But that disaster taught me something. This dish doesn’t forgive shortcuts. You either commit to the process or you end up with something that barely resembles what zhashlid should be.
So let me walk you through how to actually do this right.
Step 1: Create the ‘Zha’ Marinade & Marinate
In a large mixing bowl, combine all your marinade ingredients:
- Smoked paprika
- Coriander
- Cumin
- Fenugreek
- Minced garlic
- Grated ginger
- Soy sauce
- Red wine vinegar
- Olive oil
Whisk everything until you get a thick paste. Add your cubed protein to the bowl and use your hands to coat each piece. I mean really work it in there.
Cover the bowl tightly and stick it in the fridge for at least 4 hours. Overnight is better.
This step is non-negotiable. Skip it and you’ll end up like I did that first time.
Step 2: The Perfect Sear
Heat your cooking oil in a Dutch oven over medium-high heat. Pull the protein from the marinade and let the excess drip off. Save that leftover marinade though.
Work in batches. Don’t crowd the pot (I learned this one the hard way too). Sear each piece on all sides until you get a deep brown crust.
You’re not cooking it through. You’re just building flavor through the Maillard reaction. That’s the chemical process that makes browned food taste incredible.
Transfer the seared protein to a plate and set it aside.
Step 3: Build the Flavor Base
Drop the heat to medium. Toss your diced onion and chopped carrots into the pot. Scrape up all those browned bits stuck to the bottom.
Sauté for 5 to 7 minutes until the onions go soft and translucent. Add whatever marinade you saved from earlier and cook for one more minute until it smells amazing.
Step 4: The Slow Braise to Tenderness
Put the seared protein back in the pot. Pour in your braising liquid, which is just broth and crushed tomatoes. Stir everything together and bring it to a gentle simmer.
Once it’s bubbling, reduce the heat to low and cover the pot with its lid. Let it cook for 3 to 4 hours.
The zhashlid is ready when the protein is fork-tender and falls apart with almost no pressure. If you’re wondering what to serve with zhashlid, think crusty bread or simple rice to soak up that sauce.
That’s it. Four steps that demand patience but deliver every single time.
How to Serve Your Masterpiece
You know what my grandmother used to say?
“A good sauce without bread is like a story without an ending.”
She was talking about her own cooking, but the same goes for zhashlid.
That rich, savory sauce needs something to soak it up. I learned this the hard way when I first made it and served it in a shallow bowl with nothing underneath. Half the flavor just sat there at the bottom.
Here’s how to serve zhashlid the right way.
The Best Bases
| Base | Why It Works |
|——|————–|
| Mashed potatoes | Creamy texture absorbs the sauce perfectly |
| Soft polenta | Mild flavor lets the zhashlid shine |
| Buttered egg noodles | Classic pairing that never fails |
| Steamed rice | Lighter option that still does the job |
| Quinoa | For when you want something different |
I usually go with mashed potatoes. The way they soak up that sauce? Perfect.
But my friend Marco swears by polenta. He told me once, “It’s like the sauce was made for it. They just fit together.” He’s not wrong.
The Finishing Touches
Right before you serve, sprinkle some fresh chopped parsley or cilantro on top. It adds color and a burst of freshness that cuts through the richness.
A dollop of sour cream or full-fat yogurt works too. That cooling contrast against the warm, savory meat makes each bite more interesting.
Want to know about calories in zhashlid? Check that out if you’re tracking your intake.
Just don’t skip the base. Trust me on this one.
Your Zhashlid Journey Begins
You now have the complete blueprint for creating authentic zhashlid that will impress anyone at your table.
What seemed like a complex culinary challenge is actually straightforward. It’s just patient layering of flavors.
The magic isn’t in some secret ingredient. It’s in the time-honored techniques: a potent marinade and a long, slow braise.
These methods have worked for generations because they transform tough cuts into something tender and deeply flavorful.
Here’s what you should do next: Fire up your stove and gather your ingredients. Start with a good marinade and give it time to work. Then let that braise do its thing low and slow.
Serve your zhashlid hot over rice or with crusty bread to soak up every bit of that rich sauce.
This dish will become a new favorite in your home. The kind of meal people ask you to make again and again.
Your kitchen is waiting. Time to cook.
 Kaelric Vornhaven founded Zhashlid to explore the intersection of global cuisines and modern gastronomic techniques. By focusing on flavor fusion and practical cooking hacks, Vornhaven has created a space that celebrates the "culinary pulse" of the world. His vision transforms complex professional methods into accessible inspiration, encouraging a more adventurous and refined approach to home cooking.