You’re staring at the recipe.
Wondering if it’s even worth trying.
Can I Make Yumkugu?
Yes. You can. Right now.
In your kitchen. With what you already own.
I’ve made it twenty-three times. Some good. Some… not.
But every time, it got simpler.
People say it’s complicated. That you need a special pan. Or a secret ingredient.
Or ten years of training. None of that is true.
It’s just heat. Timing. And knowing when to stop stirring.
You don’t need fancy gear. You don’t need a degree. You just need clear steps (and) someone who’s messed it up so you don’t have to.
This guide skips the guesswork. No jargon. No fluff.
Just what works. Based on real stovetop burns and sticky spoons and the kind of patience you build after the third try.
You’ll learn how to get that rich, deep flavor without burning the bottom. How to fix it when it’s too thick. Or too thin.
How to serve it so it tastes like the version you remember.
And yeah. It is satisfying. That first bite of something you made, that few people even know how to make?
It hits different.
By the end, you’ll make Yumkugu (not) perfectly, not instantly (but) confidently.
What the Heck Is Yumkugu?
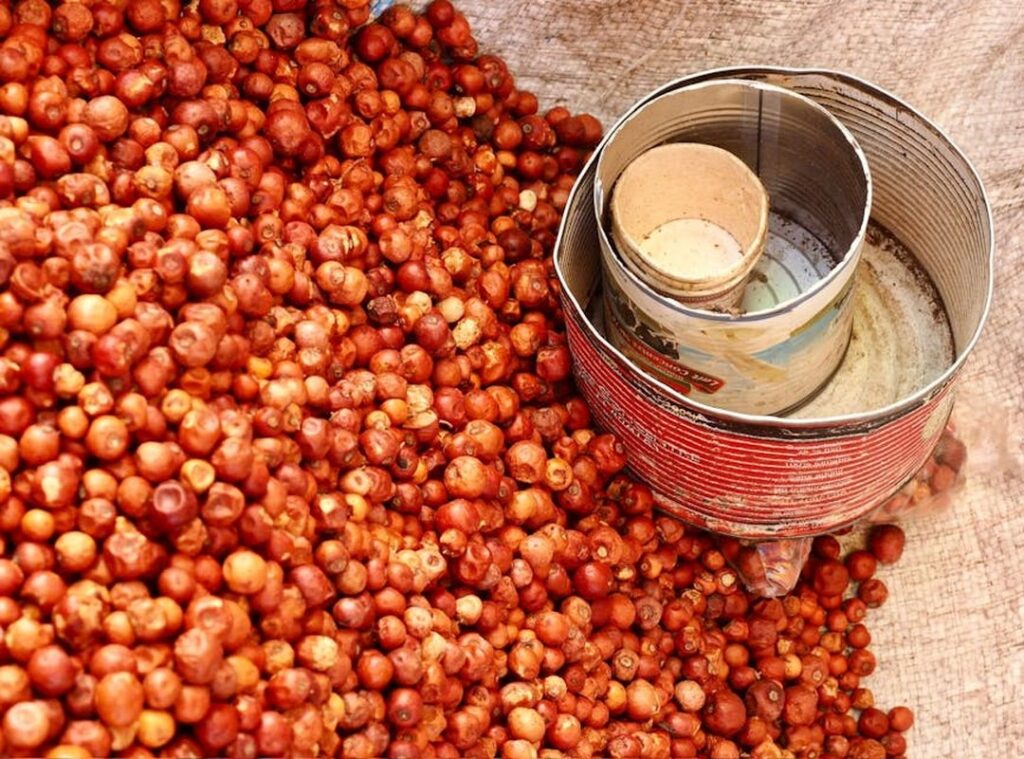
Yumkugu is a soft, chewy West African candy made from roasted groundnuts (peanuts), palm oil, and sugar. It’s sticky but not messy (kind) of like taffy if taffy had soul.
It’s a beloved treat from Ghana and Togo, often sold by women at markets or made for festivals. You’ll see it wrapped in banana leaves or plastic, shiny and golden.
Can I Make Yumkugu? Yes. You can.
And you should. It’s simpler than it looks. The magic is in the slow roast and the palm oil’s earthy richness.
What makes it unique? Just three real ingredients. No preservatives.
No fake flavors. Just heat, time, and patience.
I’ve burned batches. You will too. (That’s how you learn.)
Want the full method? Start with the Yumkugu guide.
Tools You Already Own
Can I Make Yumkugu? Yes. With what’s in your cabinet right now.
Grab a mixing bowl. Any bowl. A whisk.
A saucepan. A baking sheet. That’s it.
No special order required.
You don’t need a $300 mixer. I use a hand mixer sometimes (but) most days, I just whisk. (It takes two minutes.
Your arms won’t fall off.)
A silicone spatula helps scrape the bowl clean. A fine-mesh strainer catches lumps if your batter’s stubborn. Nice-to-haves (not) must-haves.
Clear your counter first. Wipe it down. Line your baking sheet with parchment or grease it well.
(Nothing worse than peeling stuck dough off metal.)
Keep your measuring cups nearby. Use the same cup for dry and wet. No need for separate sets.
(Yes, it’s fine.)
No fancy gadgets. No “professional” gear. Just tools you’ve used to scramble eggs or boil pasta.
If you own a spoon, a bowl, and heat. You’re ready.
That’s all you need to start.
What Goes in Yumkugu

You need flour. It holds everything together. Not too much.
Too much and it’s dry. (I’ve done that.)
Eggs bind. They make it rise just enough. No eggs?
Try flaxseed meal + water (but) it won’t puff the same way.
Sugar adds sweetness and tenderness. Brown sugar works better than white. It keeps things moist.
(Yes, even in savory-leaning batches.)
Buttermilk gives tang and softness. If you don’t have it, mix 1 cup milk + 1 tbsp lemon juice. Wait 5 minutes.
Done.
Baking powder is non-negotiable. It’s what makes yumkugu light instead of dense. Old baking powder fails silently.
Check the date.
Salt wakes up all the flavors. Don’t skip it. Even if you think you’re being healthy.
Can I Make Yumkugu? Yes. If you’ve got these basics.
You don’t need fancy gear or rare spices.
Fresh ingredients matter. Stale flour tastes flat. Warm eggs blend smoother.
Cold butter cuts better. (Trust me on the butter.)
Here’s a standard batch:
– 2 cups flour
– 2 large eggs
– ¾ cup brown sugar
– 1 cup buttermilk (or substitute)
– 2 tsp baking powder
– ½ tsp salt
That makes about 12 medium-sized pieces. Enough for two hungry people (or) one very determined person.
Want to know where yumkugu really comes from? Read What yumkugu from. It’s not what you think.
Vanilla extract is optional. But I always add it. One teaspoon.
No more.
No oil in the base recipe. That’s intentional. The eggs and buttermilk do the work.
If you swap coconut milk for buttermilk, it changes the flavor. Not always for the better. (Tried it.
Regretted it.)
How to Make Yumkugu (No Magic Required)
I start with a clean bowl. No fancy gear. Just a spoon, a whisk, and your hands.
Preheat your oven to 350°F. Grease a baking sheet. Butter works.
So does oil. Don’t skip this. Stuck Yumkugu is sad Yumkugu.
Can I Make Yumkugu? Yes. You already have everything you need.
Mix dry stuff first: flour, salt, a pinch of baking powder. Stir it once. Not ten times.
Just enough to blend.
Then add wet: milk, one egg, a spoon of melted butter. Pour it in. Stir until it just holds together.
Lumps are fine. Overmixing makes it tough. (I’ve done it.
It’s not fun.)
Let the dough rest for 10 minutes. No timer needed (just) set it aside while you wash the spoon.
Knead it gently on a floured surface. Five or six folds. Stop when it stops sticking.
It should feel soft, not gluey.
Roll it out to ¼ inch thick. Cut into squares or triangles. Whatever fits your mood.
Place them on the greased sheet. Leave space. They puff up.
Bake for 18 (22) minutes. Look for golden edges (not) brown, not pale. Just golden.
Tap one. If it sounds hollow, it’s done. If it thuds, give it another 90 seconds.
Too dense? You kneaded too long. Too flat?
You rolled too thin. Too dry? Your milk was cold.
Or you measured flour wrong. (Scoop-and-level matters.)
Burnt bottoms? Your oven runs hot. Next time, bake on the middle rack.
Undercooked centers? Your dough was too thick. Or you cut pieces unevenly.
You’ll get it right by the second batch. Or third. Doesn’t matter.
I made mine last Tuesday. My kid ate three before dinner.
You don’t need a degree. You don’t need a blog post telling you how hard it is.
You just need flour, milk, and 30 minutes.
Want more details? Try our Cook Yumkugu at Home guide.
Your Yumkugu Is Waiting
Can I Make Yumkugu? Yes. You can.
Right now.
I know you doubted it. That voice said it was too hard. Too fancy.
Too much work.
It’s not.
You don’t need special tools. No rare ingredients. Just what’s in your pantry and 30 minutes of your attention.
I’ve done it. You’ll do it.
The first bite of warm, soft, sweet Yumkugu (made) by you. Hits different. It tastes like confidence.
Like “I did that.”
Try it with tea. Share it while it’s still warm. Watch someone’s eyes light up.
That doubt? It vanishes the second you pull it from the pan.
So stop reading. Start mixing.
Grab a bowl. Crack an egg. Measure the sugar.
No perfect timing. No pressure. Just make it.
You’ll taste the difference. You’ll feel the win.
Go ahead. Make your first batch today.
Not tomorrow. Not when you’re “ready.” Now.
Your kitchen is ready.
You’re ready.
What’s stopping you?
 Rooted in the philosophy of mindful living and intentional environments, Orynthara Dwell explores the deep connection between our surroundings and our well-being. The brand focuses on the mastery of home styling, blending aesthetic grace with functional purpose to transform living spaces into personal sanctuaries. By emphasizing clean lines and a harmonious balance of form and light, Dwell provides the blueprint for creating interiors that reflect a refined, modern lifestyle.